- Adelaide–Crafers Highway
-
Adelaide-Crafers Highway 

The highway viewed near the eastern portal of the Heysen Tunnels Length 10 km (6 mi) Direction West-East From  Glen Osmond Road, Glen Osmond, Adelaide
Major suburbs Mount Osmond To  South Eastern Freeway, Crafers, Adelaide
Allocation National Route M1 Major junctions  Cross Road
 Portrush Road
Mount Barker Roadfor full list see exits and intersections.
The Adelaide-Crafers Highway is a 10 kilometre controlled-access highway linking Adelaide city centre to Crafers in the Adelaide hills, and continuing from Crafers as the South Eastern Freeway. The highway is ten kilometres long, including 500 metre long twin-tube tunnels (the Heysen Tunnels), the first of their kind on the National Highway. The road is signed as the Princes Highway for its entire route from Glen Osmond Road to the South Eastern Freeway. It is designated as the M1.
Contents
History
The Adelaide-Crafers Highway came as a much-needed upgrade and replacement to the previous link road, the Mount Barker Road,[1] which had been contoured to the Adelaide Hills, giving rise to many steep turns, ascending a tortuous route. The tightest hairpin turn on the Mount Barker Road became infamous as 'the Devils Elbow', often the site of car and semi-trailer accidents.
On 16 May 1995, Prime Minister Paul Keating announced the construction of the new freeway. The Heysen Tunnels, named after well-known South Australian artist and benefactor Hans Heysen, were completed in 1998. Construction was completed early 2000 and on 5 May 2000 Prime Minister John Howard opened the new road.[2] It was the largest South Australian road project, costing a total of A$151 million, wholly funded by the Australian Federal Government.
Structure
The Adelaide-Crafers Highway features 6 lanes of traffic, arrester beds and concrete median barriers, with street lighting through all 10 km.
Road safety
Shortly after the Adelaide-Crafers Freeway opened, several incidents involving semi-trailers drew media attention to the road: particularly after a high-profile media identity was involved in a near-fatal accident with a semi-trailer.[citation needed] While the previous Mount Barker Road was a notorious stretch, its dangers were well known - the new freeway presented the new challenge of a sustained continuous gradient. Heavy vehicles with inadequate braking found it hard to slow down once they had exceeded a certain speed. It took some time, and the addition of several warning signs prior to the descent, for heavy vehicles to become familiar with the freeway's characteristics. Semi-trailers can been seen travelling as slow as 20-30km/h downhill. In 2005 changeable electronic road signs were installed every 200 metres, so that the speed limit of the road can be adjusted from Transport SA headquarters in Adelaide. This has both improved safety for commuters, and emergency service workers like the Country Fire Service.
Exits and intersections
Adelaide-Crafers Highway 
Princes HighwayEastbound exits 
or Intersections
Distance from
South Eastern Freeway
(km)Distance from
Glen Osmond Road
(km)Westbound exits
or IntersectionsStart Adelaide-Crafers Highway 
from Glen Osmond Road
10 0 End Adelaide-Crafers Highway
continues as Glen Osmond Road
to Adelaide city centreGlen Osmond
Portrush Road

Cross Road

Glen Osmond
Portrush Road
Cross Road
Mount Osmond
Mount Osmond Road
8 2 Mount Osmond
Mount Osmond Road
Eagle On The Hill
Devil's Elbow
Mount Barker Road
6 -- no exit HEYSEN TUNNEL
Up Track-- -- HEYSEN TUNNEL
Down Trackno exit 0 10 Eagle on the Hill
Mount Barker Road
End Adelaide-Crafers Highway
continues as South Eastern Freeway
to Murray Bridge / MelbourneStart Adelaide-Crafers Highway
from South Eastern FreewayMap
LegendGlen Osmond Road 
 Glen Osmond Road
Cross Road 

 Portrush Road

Old Toll House 
End Freeway Start Freeway Arrester Bed 


Mount Osmond Road Mount Osmond Interchange 


Devil's Elbow Interchange 


Heysen Tunnels Mount Barker Road 


Arrester Bed 
Eagle on the Hill Interchange Continues from South Eastern Freeway Continues as South Eastern FreewayGallery
-

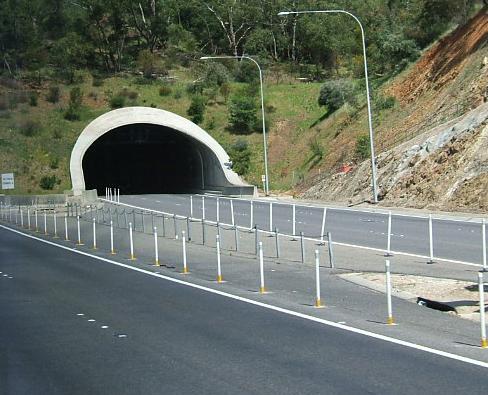
Portal of the Heysen tunnel on the revamped freeway.
-

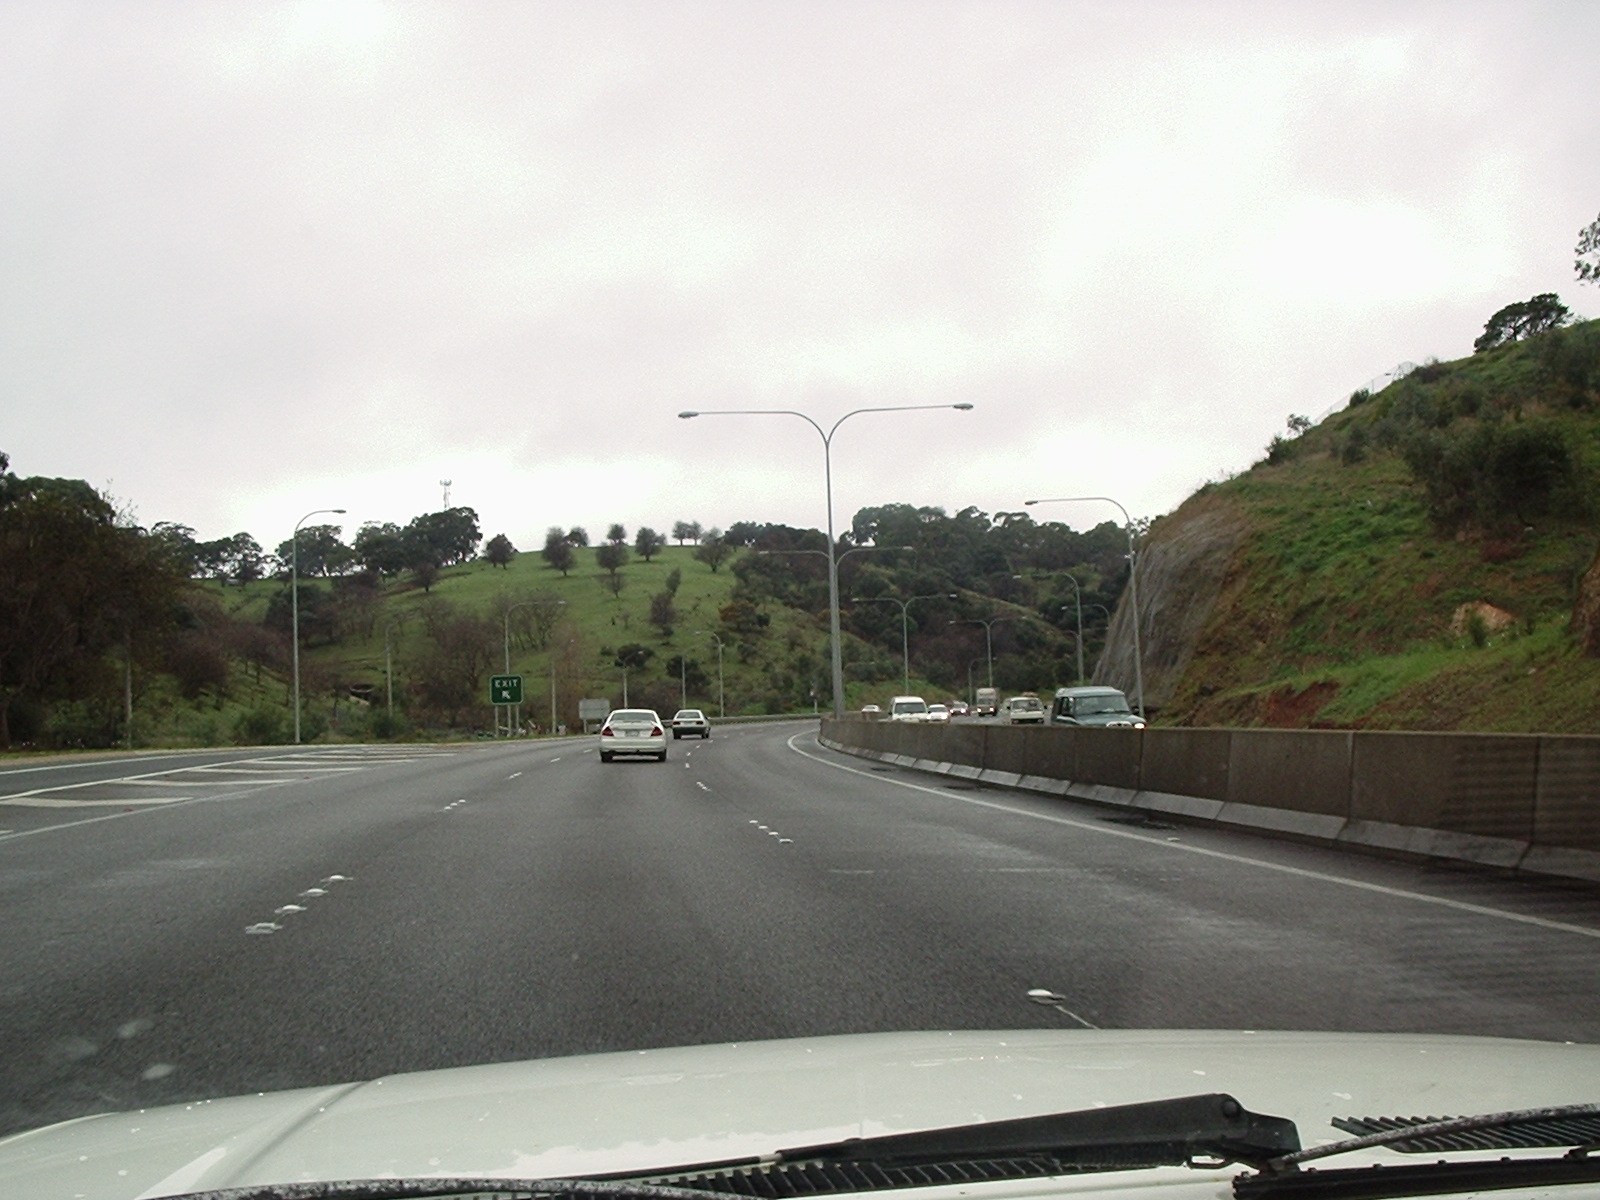
Driving towards Murray Bridge on Adelaide-Crafers Highway.
-
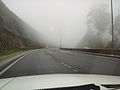
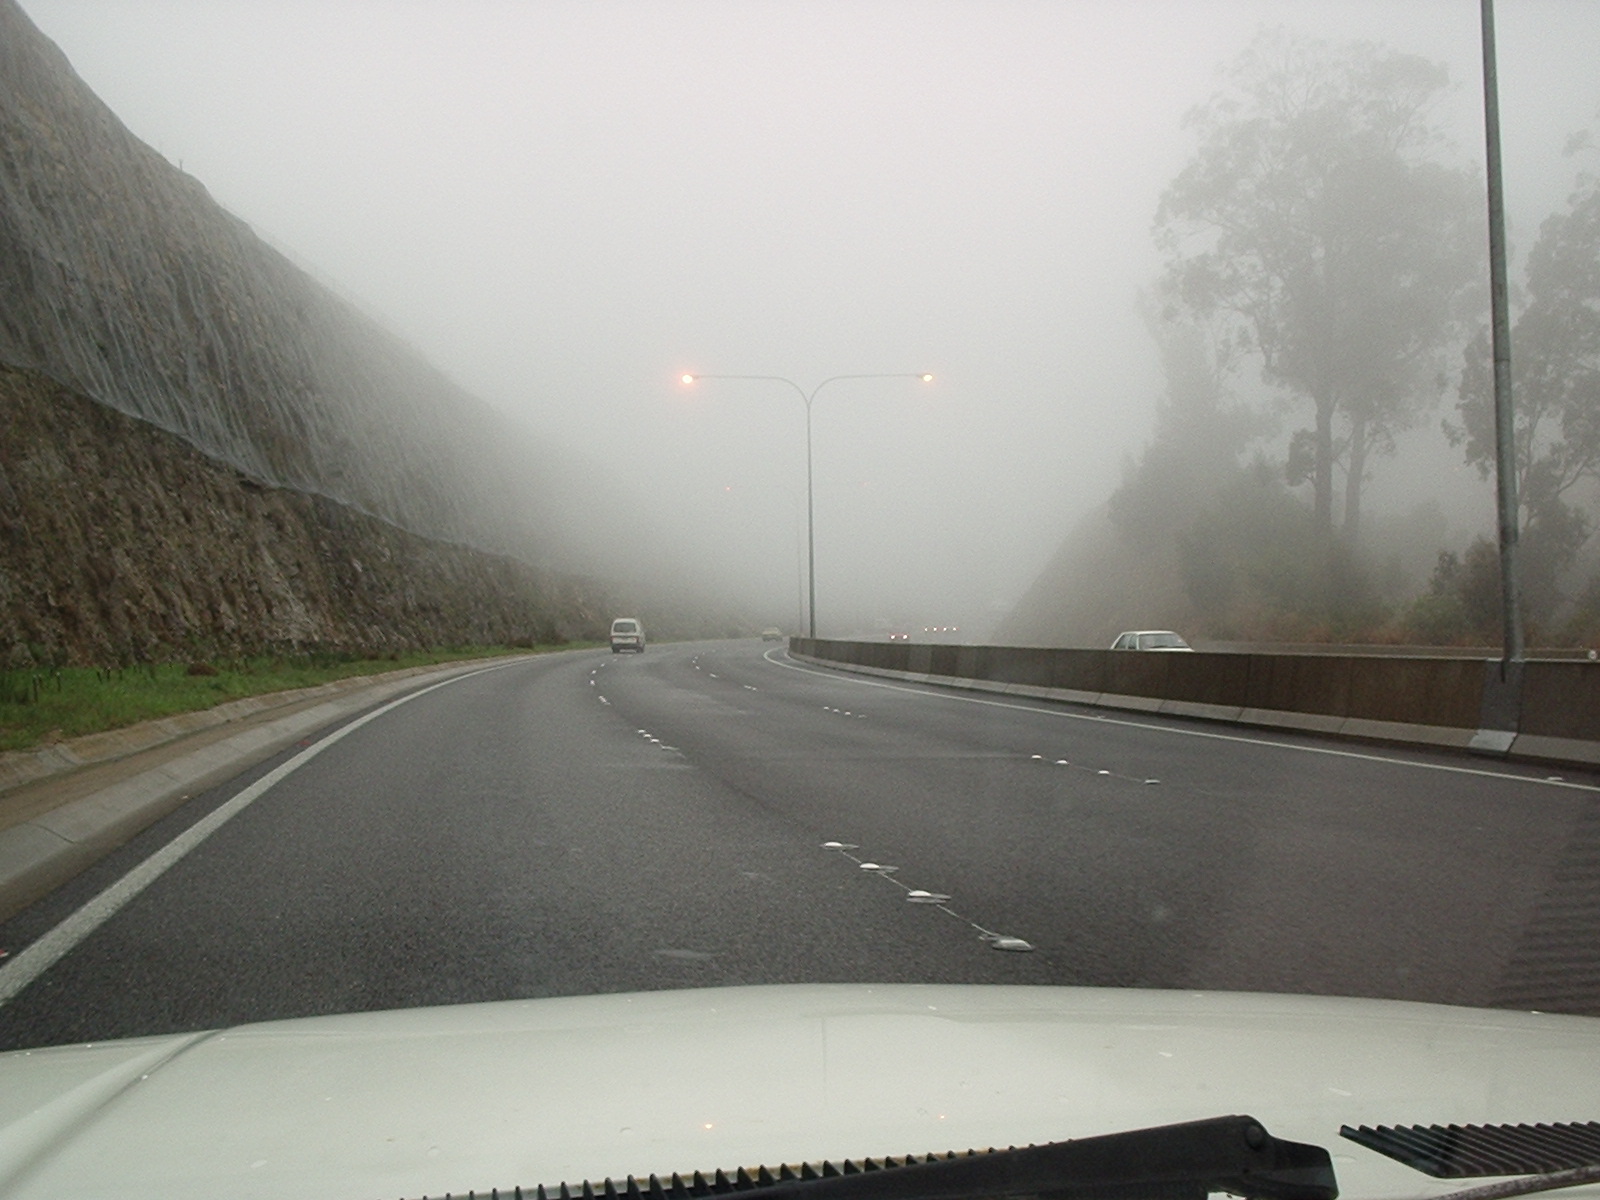
Adelaide-Crafers Highway on a foggy day.
-

Adelaide-Crafers Highway at Crafers.
-

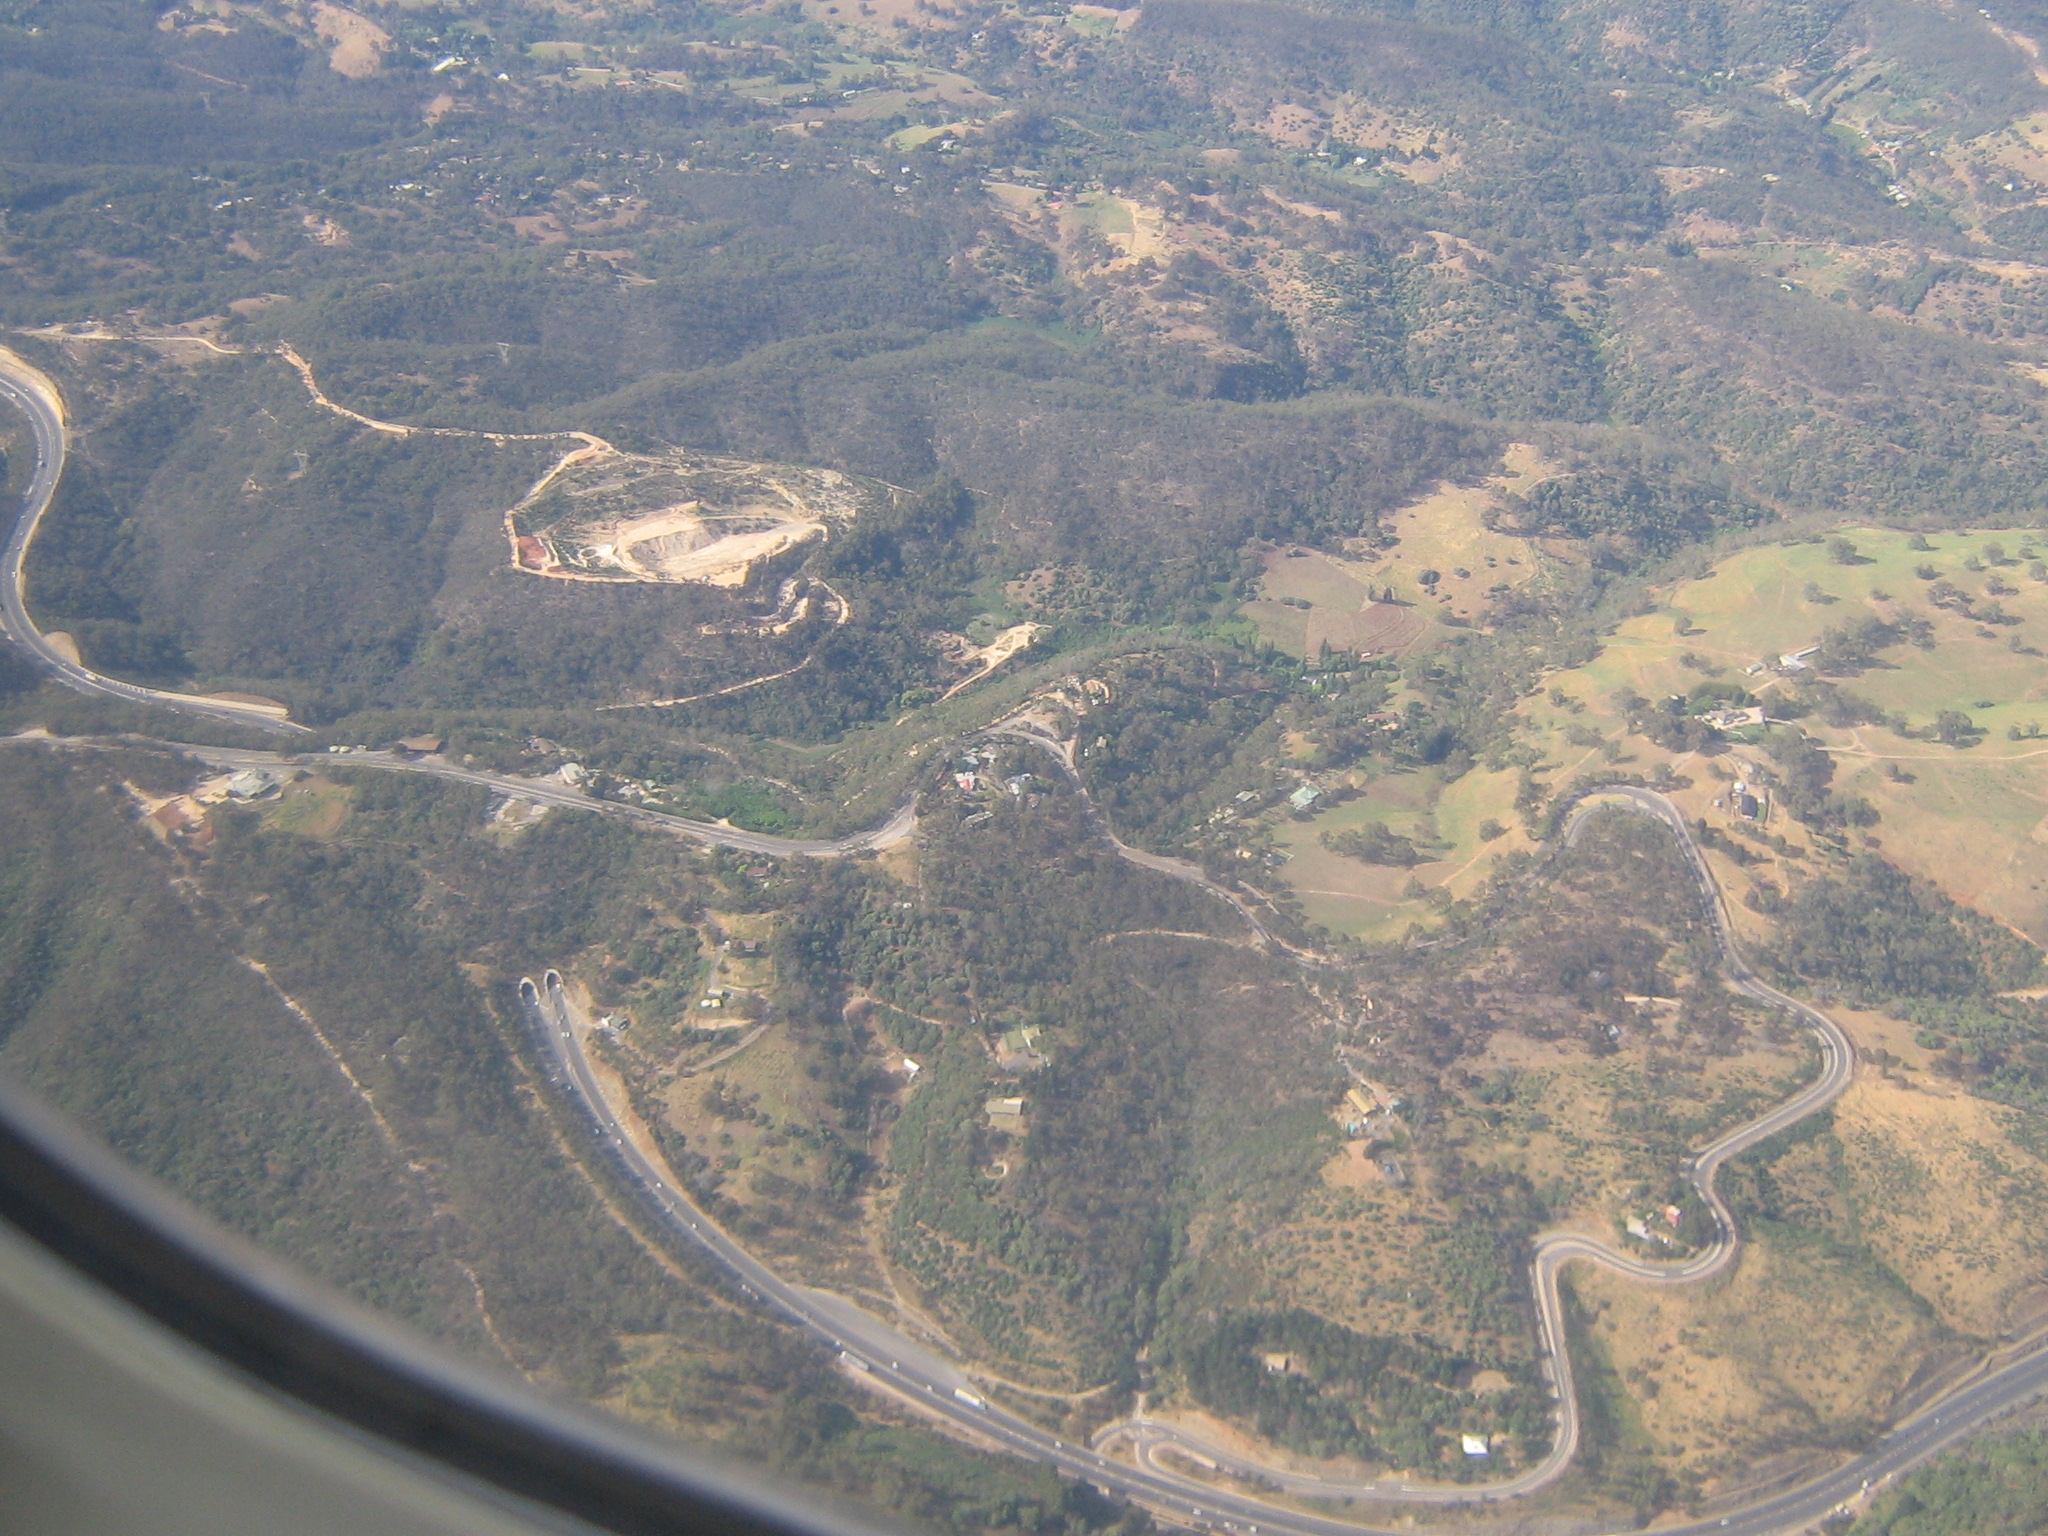
Eagle on the Hill is directly above the tunnel entrance, with the old road winding round from Devil's Elbow.
See also
- Highway 1 (Australia)
- A1 highway (South Australia)
- South Eastern Freeway
- Highways in Australia
- List of highways in South Australia
- Freeways in Australia
- Freeways in South Australia
- Metropolitan Adelaide Transport Study
References
- ^ "Old and New Road Names". City of Burnside. 8 March 2006. http://www.burnside.sa.gov.au/site/page.cfm?u=756. Retrieved 2007-07-14.
- ^ "The Adelaide Crafers Highway Project". Government of South Australia, Department for Transport, Energy and Infrastructure. 13 August 2004. Archived from the original on 2007-08-29. http://web.archive.org/web/20070829201957/http://www.transport.sa.gov.au/transport_network/projects/adel_crafers/index.asp. Retrieved 2007-07-14.
 Road Infrastructure in Adelaide
Freeways Adelaide–Crafers Highway · Port River Expressway · South Eastern Freeway · Southern Expressway · Northern Expressway · Northern Connector (proposed) · South Road Superway (proposed) · North-South Corridor (proposed)
Highways and major roads Anzac Highway · Gawler Bypass Road · Glen Osmond Road · Grand Junction Road · Main North Road · Main South Road · Mount Barker Road · North East Road · Port Wakefield Road · Portrush Road · Salisbury Highway · Sir Donald Bradman Drive · South RoadOther roads City Ring Route · Cross Road · Daws Road · Fullarton Road · Goodwood Road · Greenhill Road · Hampstead Road · Kensington Road · Kings Road · McIntyre Road · Magill Road · Marion Road · Montacute Road · Montague Road · Tapleys Hill Road · The Parade · Regency Road · Torrens Road · Victoria RoadCity streets Grote Street · King William Street · Morphett Street · North Terrace · Pulteney Street · Wakefield Street · West TerraceCategories:- Highways in South Australia
- Roads in Adelaide
- Freeways and highways in Adelaide
-


Wikimedia Foundation. 2010.